
Shaman 2 and Shaman EVO – Fuselage Building Guide
The fuselage building of the Shaman 2 and Shaman Evo is largely identical. The main difference lies in the pull-string control system, due to the five-servo configuration used in the Shaman EVO.
Follow the general steps below, and refer to the specific section for your model where differences apply.
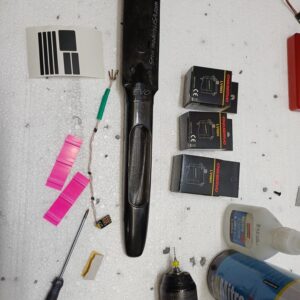
Step 1 – Wiring Preparation
Prepare the wiring for the electrical installation in advance.
The cables must be soldered to the connector and crimped.
If you do not have suitable wiring or soldering equipment, or prefer not to handle this step yourself, you can order one of our wiring sets.
The connectors come pre-soldered, the cables are professionally crimped, and the entire set is ready for quick and easy installation.

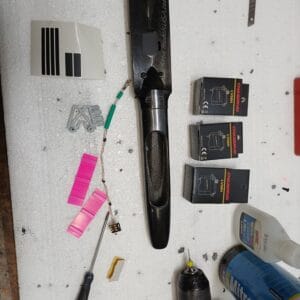
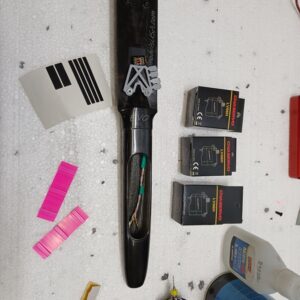
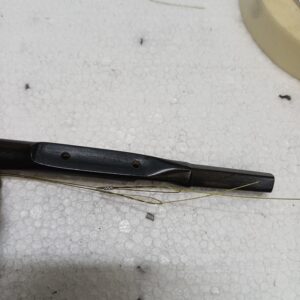
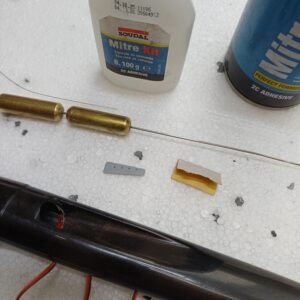
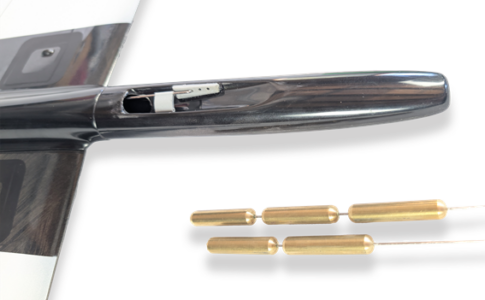
Step 2 – Connector Installation
Apply the safety sticker to the fuselage.
Use the provided template to :
- route the cables
- position the connector correctly
- glue it in place
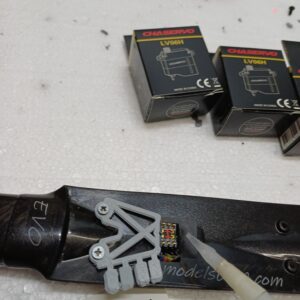
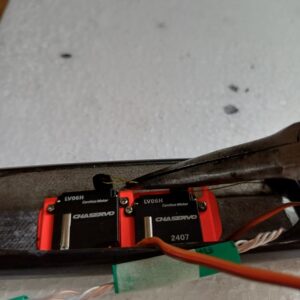
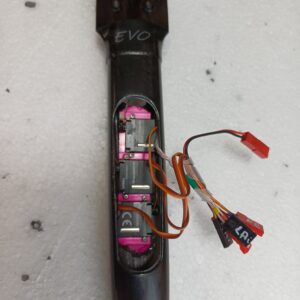
Step 3 – Servo Installation
Prepare the servo area inside the fuselage by lightly sanding the surface.
Servos are mounted onto the fiber glass trays, which are then glued into the fuselage.


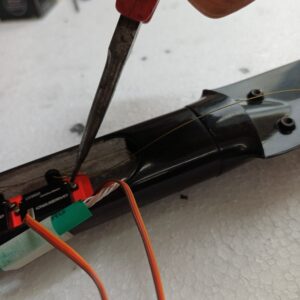
Step 4 – Pull strings installation
Attention: Ensure all pull strings move freely without friction before final fixing!
The pull-string installation differs depending on the model configuration.
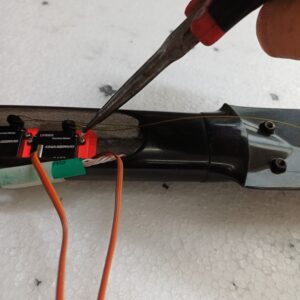
Shaman Evo (5-servo configuration)
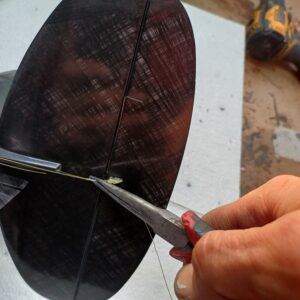
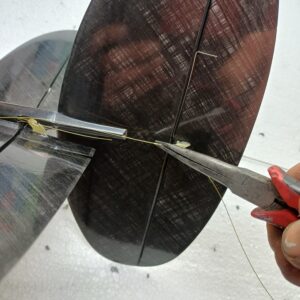
Prepare small loops at the ends of the pull strings.
Elevator:
- Route both pull string carefully, avoiding twisting.
- Attach them to the elevator control horns (pre-installed on the tail)
- A Teflon tube (included in the kit) can be placed over the pull string coming from the front servo to prevent contact with other components.
- Connect both pull strings to the servos.
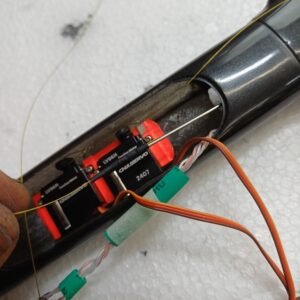
Rudder:
- First attach the pull string to the servo
- Then connect it to the rudder.
Shaman 2 (4-servo configuration)
Prepare small loops at the ends of the pull strings.
Elevator:
- Route the pull string through the fuselage
- Attach it to the the elevator control horn
- Then connect it to the servo
Rudder:
- First attach the pull string to the servo
- Then connect it to the rudder.
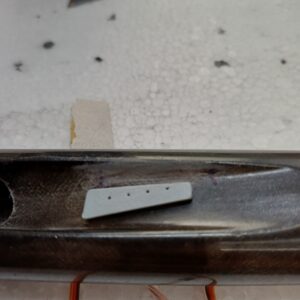
Step 5 – Ballast Plate Installation
Prepare the bonding area by light sanding.
Then glue the ballast plate in place.
Using the pre-marked holes on the plate:
- drill through the fuselage with a 1.2-1.5mm drill bit.

The methods described above reflect the way we build and set up our models, based on our experience and what we have found to work best.
Of course, every builder is free to use their own preferred techniques and workflow.
In the end, building is part of the enjoyment – take your time and make it your own.